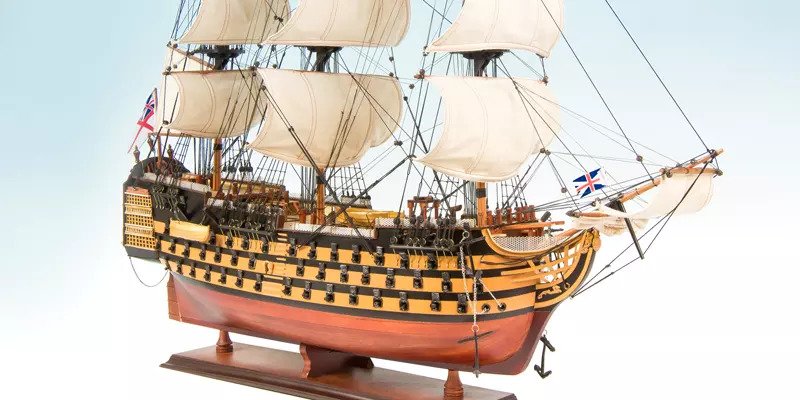
For anyone considering buying a model from Seacraft Gallery, we know it’s important to understand how we build a model. To help make sure you know what you are buying, we’ve put together a list of the preparations that we undertake when building any model we produce. So, how do we go about building our models?
Getting started
To start with, we work with our team to get the wood and timbers needed seasoned and then kiln-dried. This helps us make sure that all woods we use are of the correct standard, with only premium natural woods grown from tropical countries used throughout.
We also go through an in-depth research of the ship itself, making sure we have all the information we need. From size, specifications, and photos for referencing to the shape and profile, we go through every phase of the ship building process.
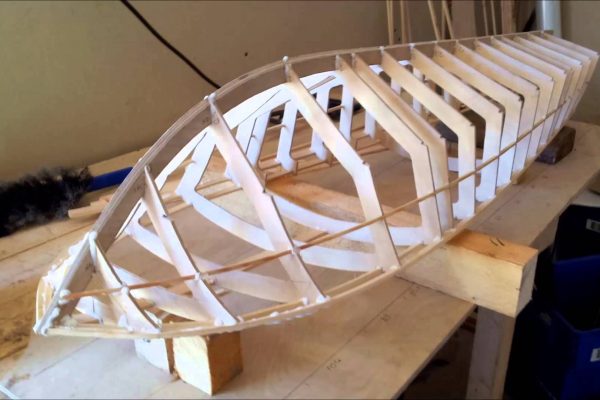
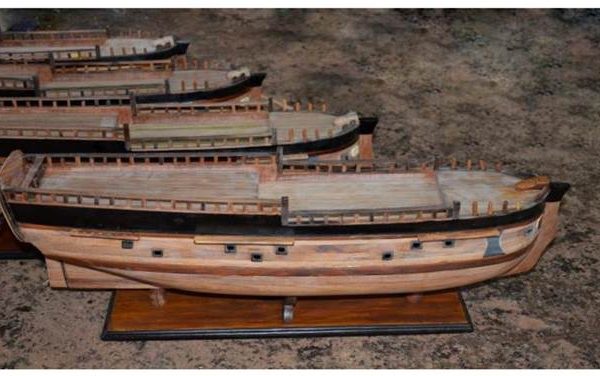
Once we get through this vital phase, we’ll start building the keel, the bulkheads and the gunwales. This is vital to help ensure we get the perfect shape and structure to the ship itself.
Building the hull
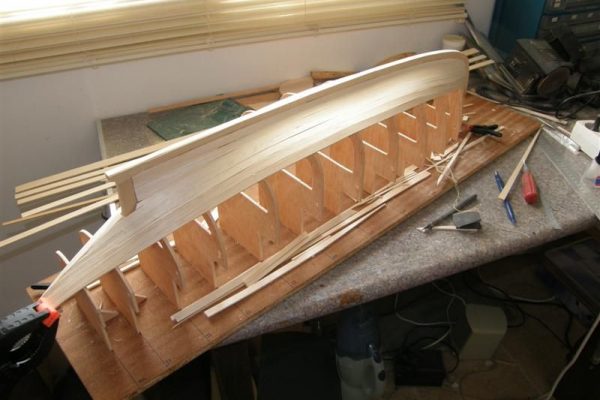
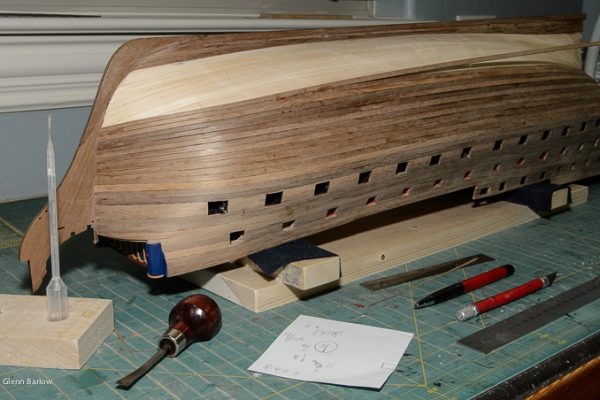
Now that we have a solid starting point, we make sure that all planks are cut and bent to the ideal shape. This is done to match the shape of the hull, with the planks then glued to the bulkhead with precision. The hull of the ship is a mixture of various strips of wood glued together.
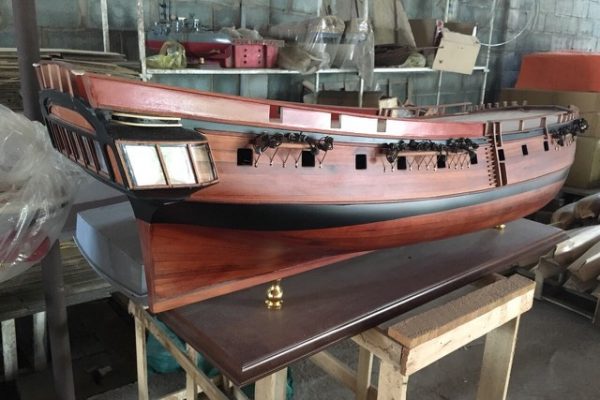
We follow the same kind of planking process used when building real-life ships. Once this is done, we carry out a detailed and thorough glue and epoxy process, pouring this evenly into the inside of the ship hull. We use the best wood glue so that it’s built to be last, free from splitting and other forms of damage. Then, we sand the hull down repeatedly, so it retains a fully smooth and finished surface. This is a time-consuming process, and arguably the most time-intensive part of our journey. However, it’s the path we need to take to help produce the best results time after time!
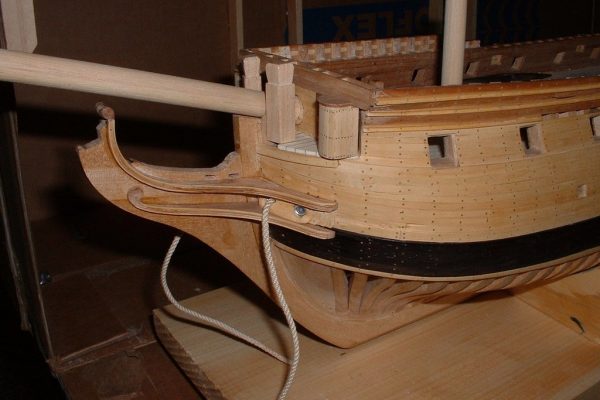
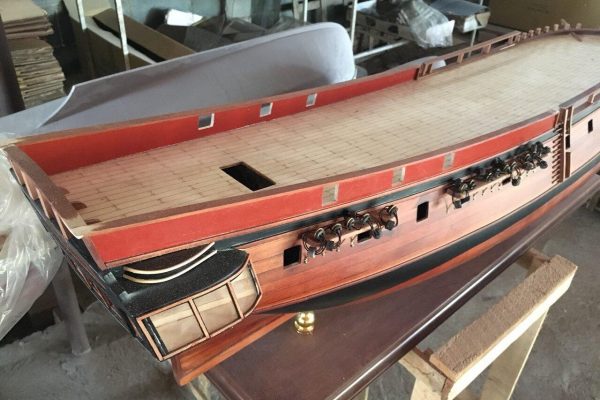
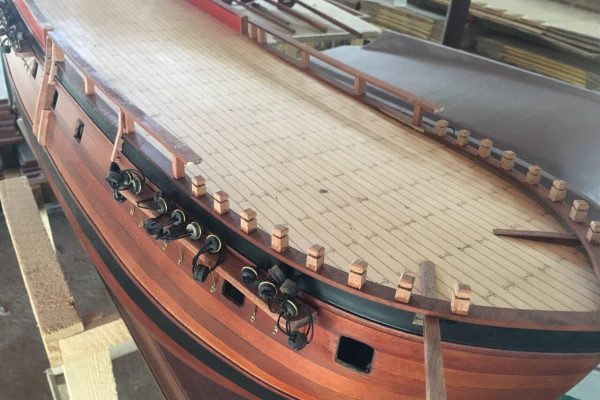
We then laser-cut the desk to ensure it imitates the deck of a real-life ship. Once we do this, we start putting in place vital building details. For example, the ship stern section – including the admiral cabin and chart house – will be included. We’ll also include the bow section, which always has the beak-head, the bow spirit {bowsprit}, and the bow spirit yard.
Taking the next step
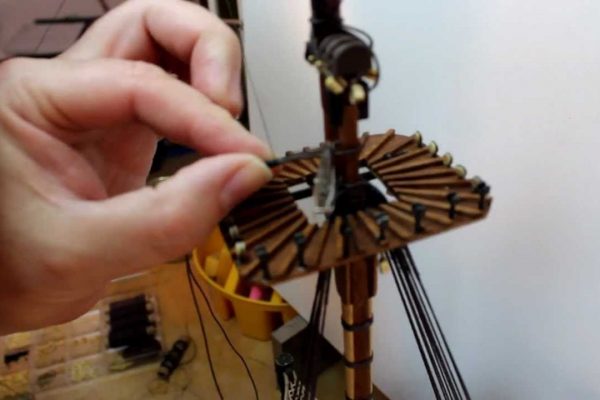
At this phase, we’ll then start going through various building sections. For example, all gun holes are now drilled into the side of the ship. The hull is then painted with several coats of clear and/or solid colour for the right finish. Once we complete this phase, we’ll go through the process of decking, including deck details such as lanterns, boat davits, ship wheels, life boats, staircases, and skylights. It’s these little features that help to breathe so much life and realism into our projects. We’ll also put up the crow’s nest and the yard arms.
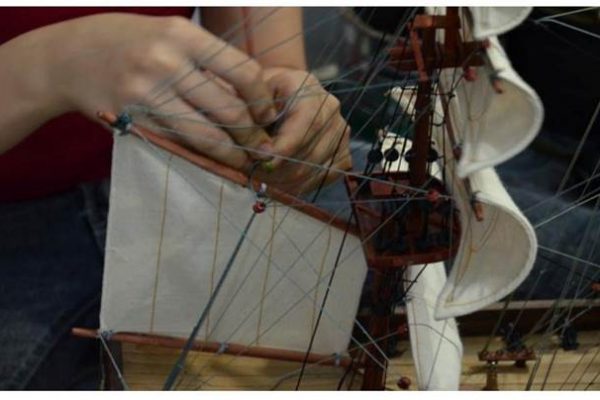
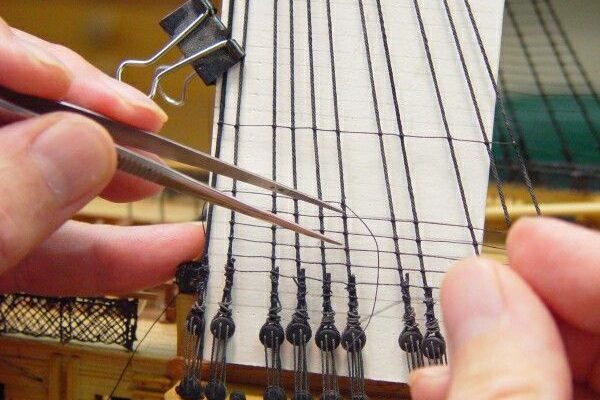
We then go through the thorough and time-consuming process of rigging. Usually, this is also a large investment of our time. It can take a few days to complete to the standard that we feel is most suitable.
This means that you can then add in the sails; sails which are hand-stitched and seasoned to make it look lifelike and realistic.
Completing the project
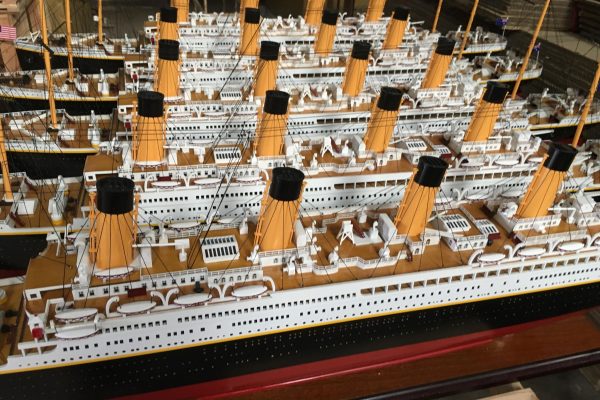
Once we finish this side of the project, we’ll move onto the vital finishing touches. From finishing up with some brass sculptures and ornaments to ensuring the ship is historically accurate, we’ll carry out every phase with the utmost precision and care. Once we’ve completed these key parts, we can prepare the sip to be sent out to you in our bespoke and secured packaging.
This is the essential step, as it’s the difference between arriving to you in fine condition or in a thousand pieces. We take the time to make sure it’s tied up into a sturdy, secure wooden crate. It’s then picked inside a heavy duty carton box, complete with cushioning for total protection. You’ll also receive a full history of your ship on arrival so that you can read all about the vessel you’ve just acquired!


